A Beautiful Thanksgiving Table
Posted by Amanda Reichard on 13th Nov 2017
Hello! I’m so thankful to have the opportunity to share my latest Krazy Kreations design with you. In preparing for Thanksgiving, I wanted our table to have a flavor of comfort, love, and warmth. Of course Krazy Kreations has so many products to make this happen. Looking at all of the products made me have lots and lots of fun ideas and I couldn’t limit this blog to just one. So, I created three different decorated candles, place cards, and napkin rings. I hope you enjoy them as much as I did.

Turkey Candle Decoration
To make the turkey
1.Remove one of the Feathered Birds Outline Stickers and set it aside, sticky side face up.
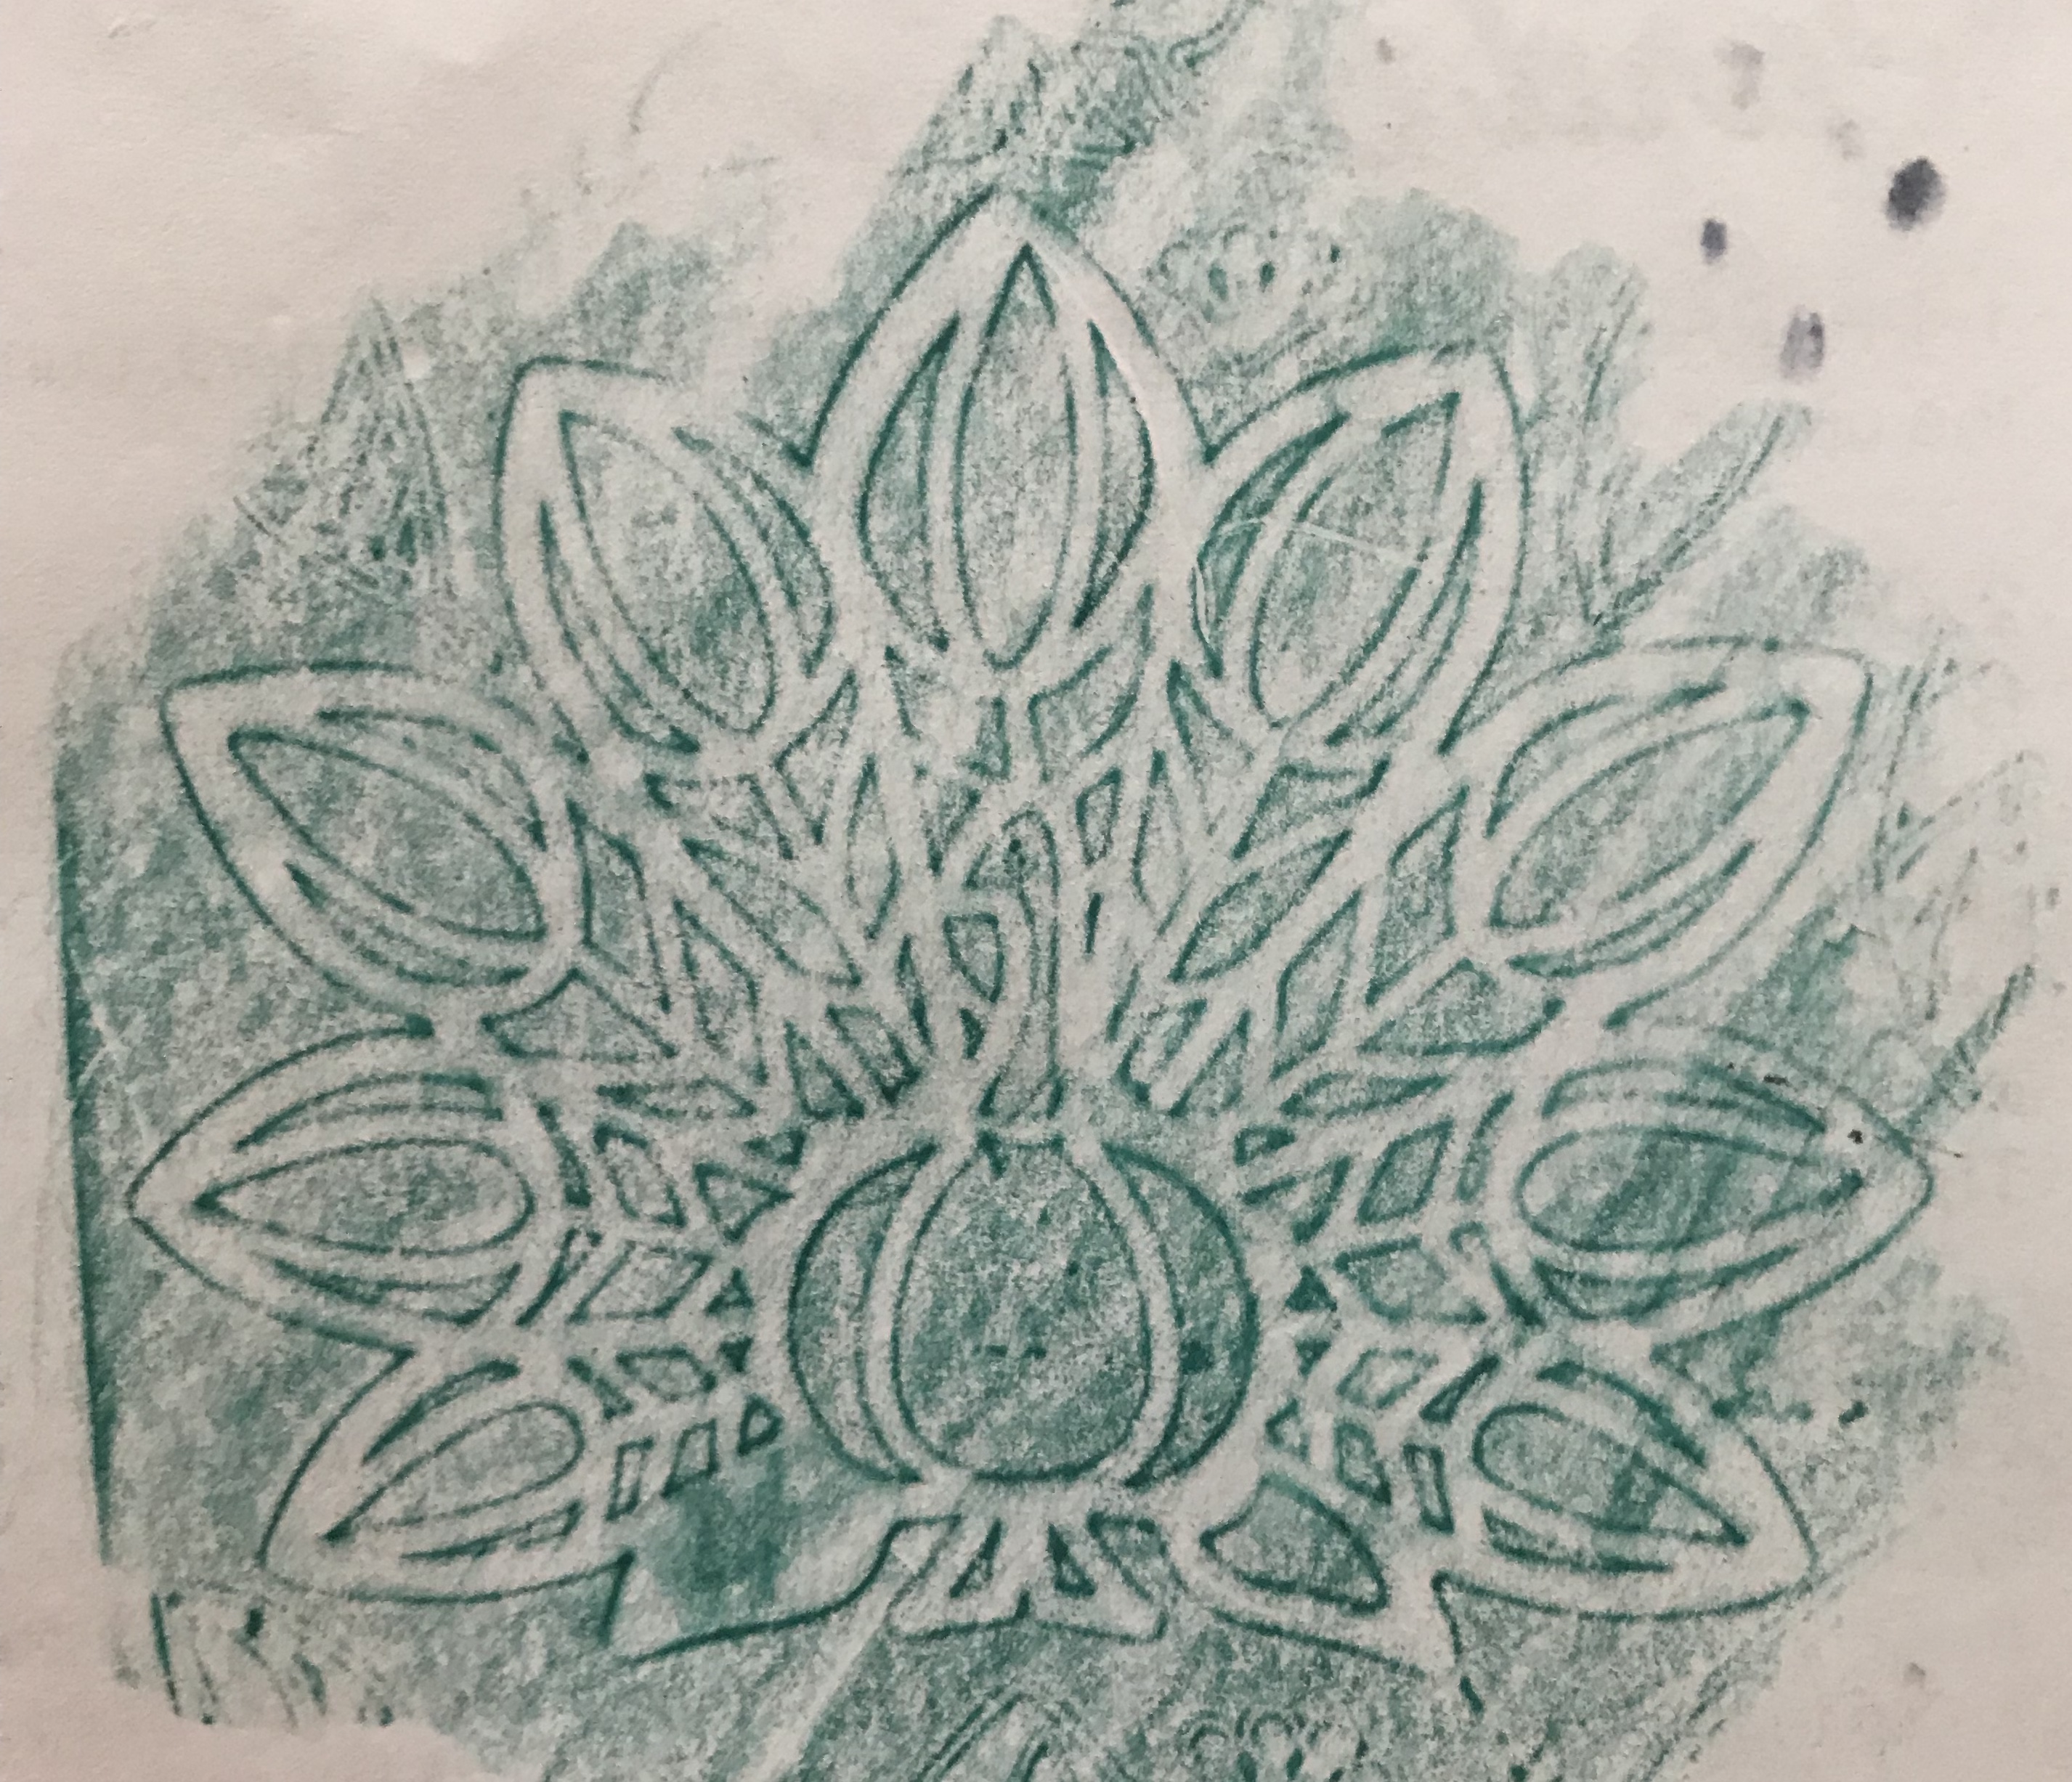
2.Using a thin piece of paper such as printer paper, create a rubbing of the turkey on the sticker sheet, where you have just removed the outline. To do this, place the paper over the “negative” outline of where the sticker was and use a colored pencil or crayon to rub over the image. This should create a likeness of the sticker on the page.
3.From the rubbing, cut out each of the feathers, the head, the body, and the feet of the turkey. These will serve as a pattern for filling in the background of the Feathered Birds Outline Sticker.
4.Select the paper you would like to use for each piece of the turkey. I used the Authentique 6x6 Paper Pack: Harvest for the feathers, and solids from my stash for the body and feet. You will notice I made the feathers match symmetrically. Using the patterns, trace the shape of the piece with the coordinating paper. Carefully cut out each piece.
5.Loosely organize the feathers and body , head, and feet in the order you plan to attach them. Then, start with the middle (largest) feather, carefully align the paper cutout on the back of the sticker in that space. You may need to slightly trim your paper piece if it overlaps the edge of the sticker so that it does not cover other paper pieces or extend beyond the outside of the sticker.
6.Repeat these steps for each of the feathers, in order from biggest to smallest on both sides of the turkey until you have completed all of the feathers.
7.Repeat these steps, also, for the head, body, and feet.
8.Run the turkey through the Xyron (or use glue) to cover the entire back with adhesive. Attach the turkey to a coordinating color of card stock. I used dark brown. Trim card stock around the turkey so that no brown shows from the front. Use a matching color or black to color the edges of the paper on the outside of the turkey to create a finished look. Run the turkey through the Xyron once more to fully cover the back with strong adhesive.
To decorate the candle:
1.Select a candle in a coordinating color and size you like. Depending on the candle, you may be able to simply attach the turkey with the adhesive, only. I recommend testing this, first to see if it works. However, if this does not work, you can use a heat gun (ideal) or hair dryer to slightly melt the side of the candle where you want to place the turkey, and place the turkey on the candle. Then, continue to hold the heat gun over the turkey and gently press it into the wax from the tip of the biggest feather straight down to the feet , being careful to not let the wax cover the image or for the image to go too deep into the candle. I chose to let the other feathers remain straight out rather than impress them into the rounded shape of the candle, but you could do that, too, if you prefer.
2.Cut out two 3/4” “ring” pieces of strong, clear plastic to and wrapped them around the candle, taping it in the back with clear tape. The candle I used had a sturdy clear plastic cover on it. If your candle does not have this cover, you can use the front cover from the packaging of any of your Krazy Kreations stickers to do the same thing.
3.Place one below the turkey and one above it. Then, add trim with the Krazy Kreations Lace Border Stickers, using both the shaped edging and the straight line stickers between them. The great thing about these border stickers is that they are very forgiving and strong enough to make attaching them in a straight line fairly easily, and always with a positive extra “pop” on your projects.
4.Select two or three coordinating ribbons or raffia to wrap around the top of the candle several times. Tie each color at the ends to hold it in place. I used raffia and the decoration that was attached to the candle when I purchased it, to add interest.
Here is a close up picture of the napkin ring:
To create the Leaf Napkin Wrings
1.Remove one of the papers with the tags in it from the Authentique 6x6 Paper Pack: Harvest. Carefully cut out the “Leaf with a heart” tag. Color in heart using a clear Wink of Stella pen.
2.Add a mat to the back with the checkered paper, using your preferred mat size. I cut mine to 1 7/8” x 2 ¼”. Adhere the tag centered on the checkered paper mat.
3.Add a brown mat to the back of the checkered paper, using your preferred mat size. I cute mine to 2” x 2 3/8”.
4.Make a “fluffy” bow with raffia, using about 20 circles of raffia that are big enough to show from behind the tag. Tie the bow in the middle.
5.Cut a circle off of the end of a cardboard tube, such as one from toilet tissue or paper towel roll. Cut a 6” x 1 1/8” strip of orange floral paper (from Authentique: Harvest).
6.Use two of the strips in between the Krazy Kreations Scalloped Border Stickers and wrap them around the ring about ¼” from each edge.
7.Adhere the bow to the ring with strong adhesive.
8.Adhere the matted leaf tag on top of the bow and ring.
The other projects are easily replicated from the photos included. If you have any questions, please feel free to contact the design team at info@krazykreations.us.
I hope that you enjoy making some of these Krazy Kreations projects for your Thanksgiving Table. Sending you all a cornucopia full of wishes for a wonderful Thanksgiving filled with love and laughter.
Krazy Kreations Products Used:
Feathered Birds Outline Sticker
Microfine Glitter Paper, Warm Highlights
Authentique 6 x 6 Paper Pack: Harvest
Copic Markers in YR04, YR07, YR02, Y17, YG67, G05, FYG1, E25, E33, E13, BV13 and R89