Honoring Service Men and Women at Arlington National Cemetery
Posted by Amanda Reichard on 5th Jan 2018
Happy Holidays!
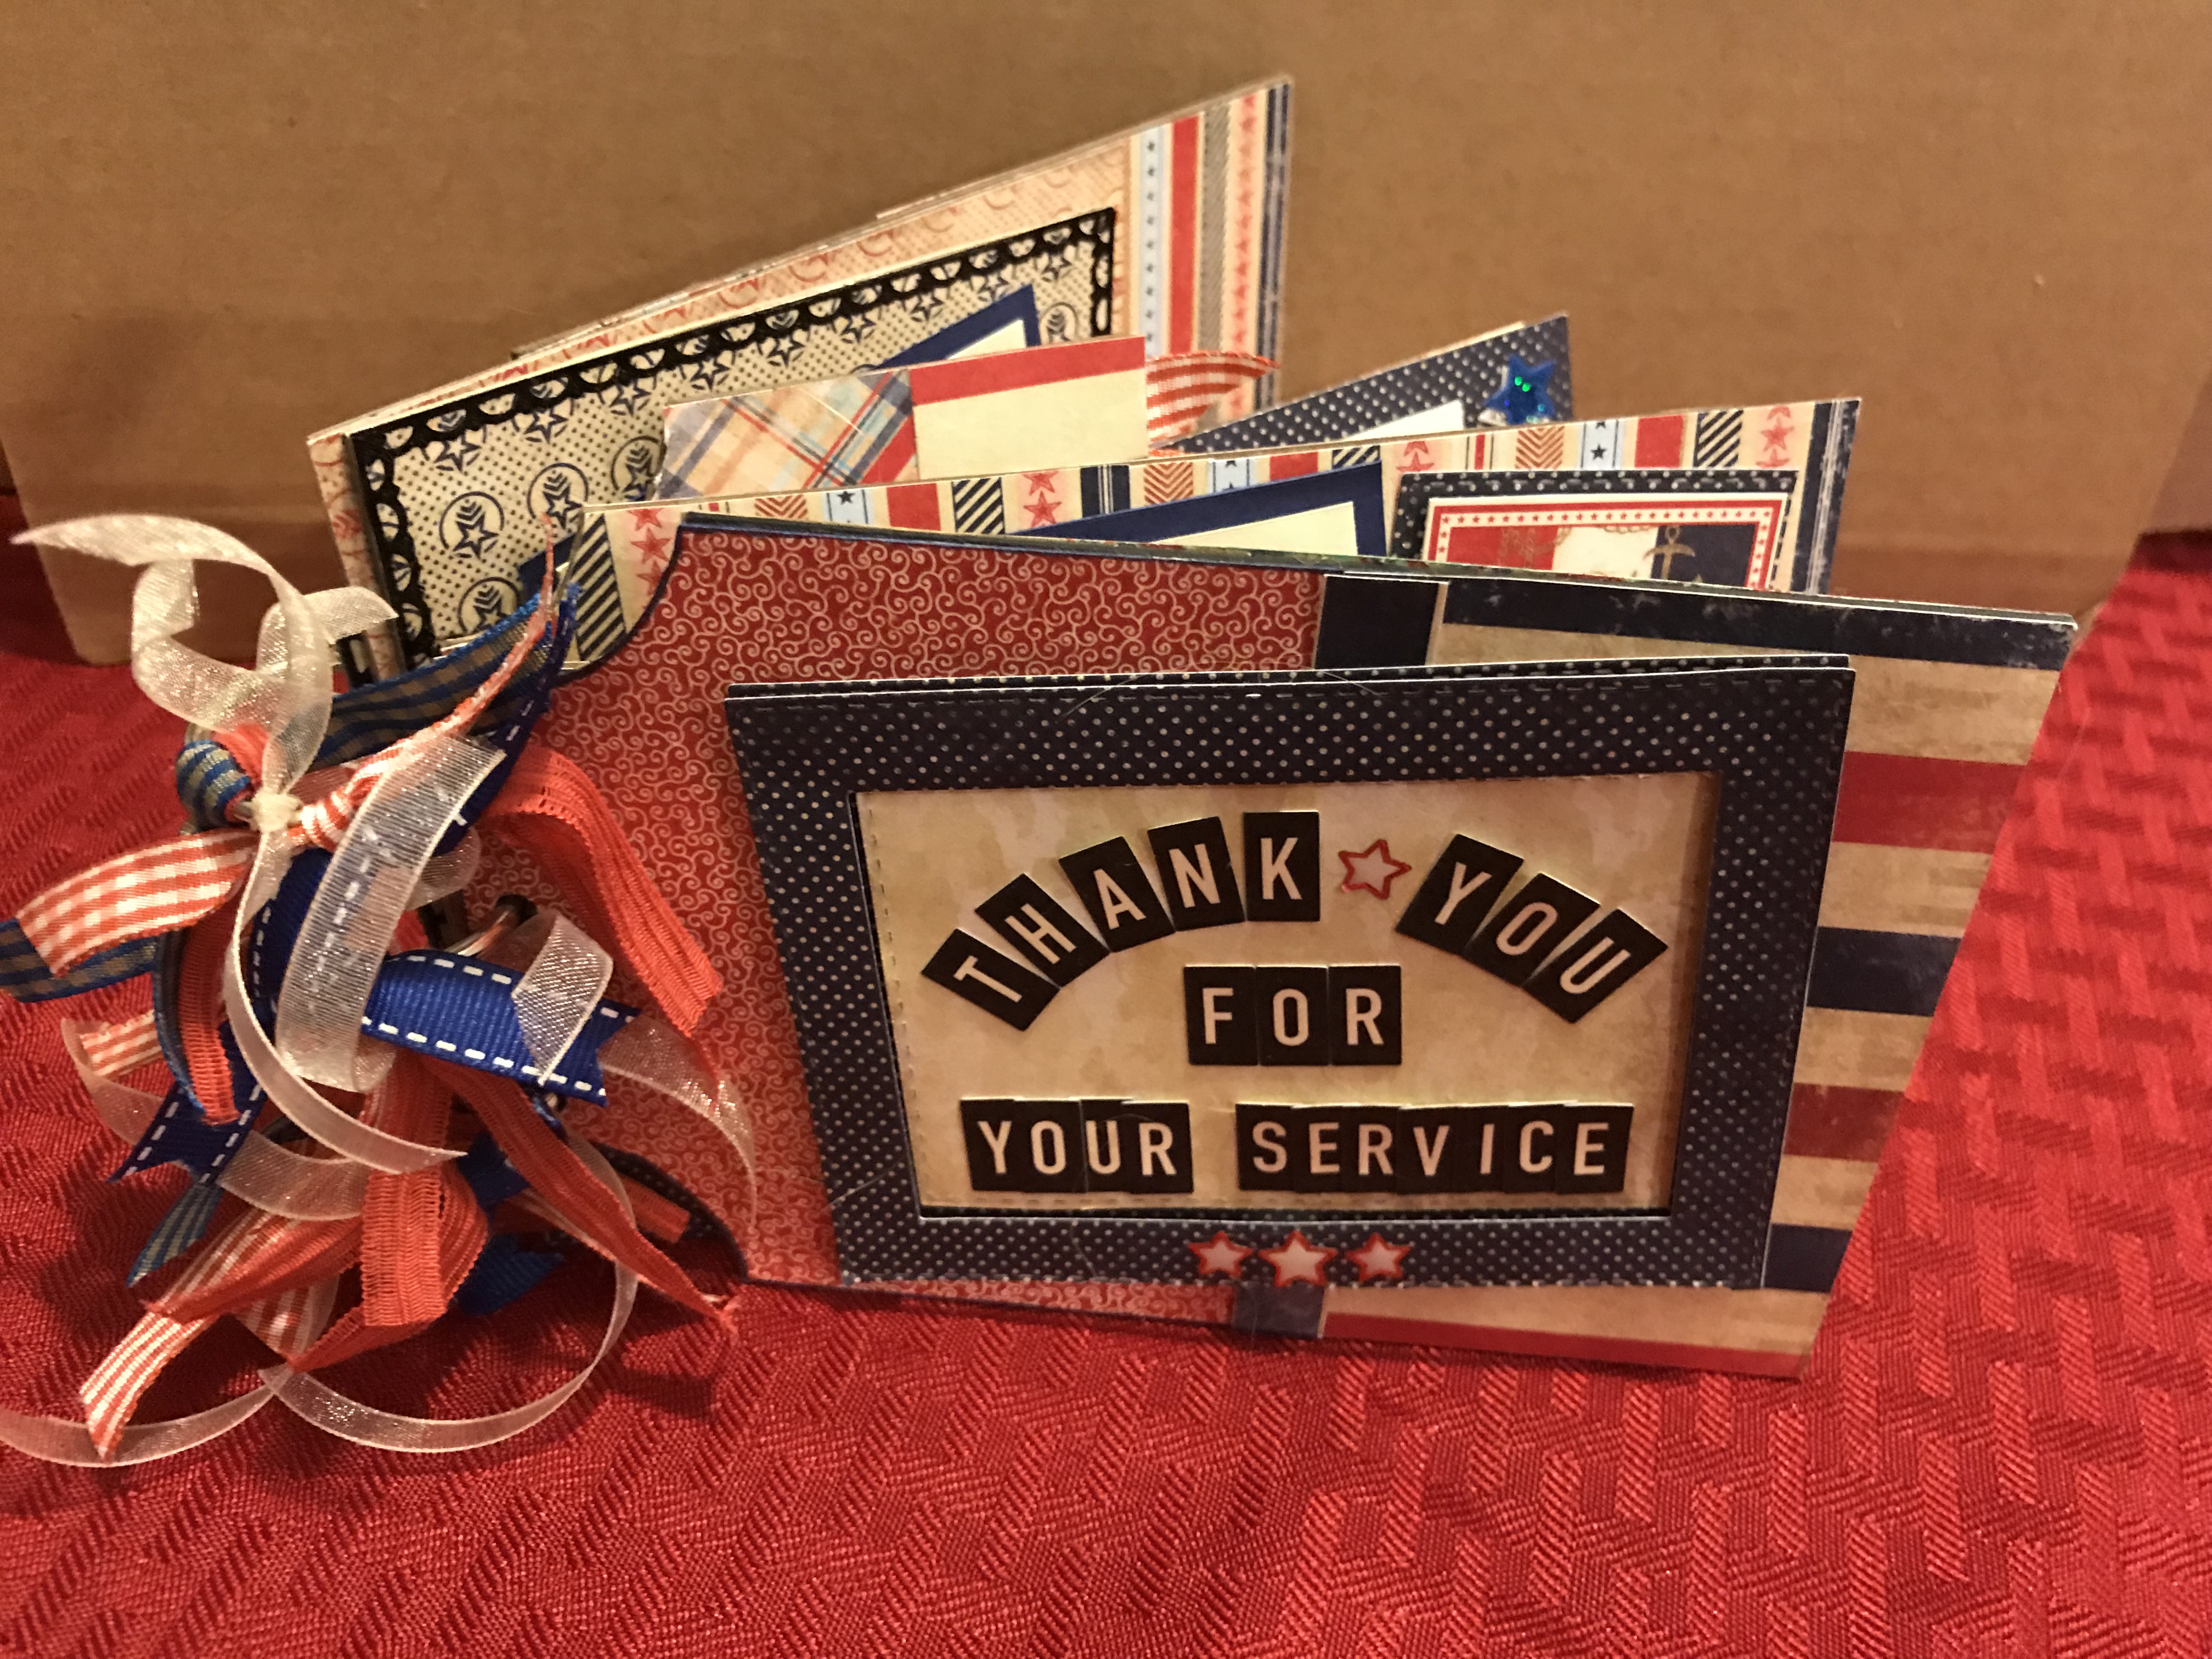
I am so excited to share my newest project, for many reasons. I love to create handmade gifts that have meaning and this project offers just that. My family and I are placing wreaths on the tombstones at Arlington National Cemetery this weekend, in honor of my Dad’s service during the Vietnam War. When I told him that we were doing this, he was far more touched than I expected, so we are planning to take lots of pictures of this special event, complete with signs showing our appreciation for his service. Of course these pictures will need a unique display, so I decided to make a mini scrapbook for him as a Christmas present. Several Krazy Kreations products, including the Chipboard Tags and the Authentique Honor bundle, offer the perfect touch for this project. .
The Chipboard Tags come in a package with three large and two small tags. This package is all you need to create the base of the album.
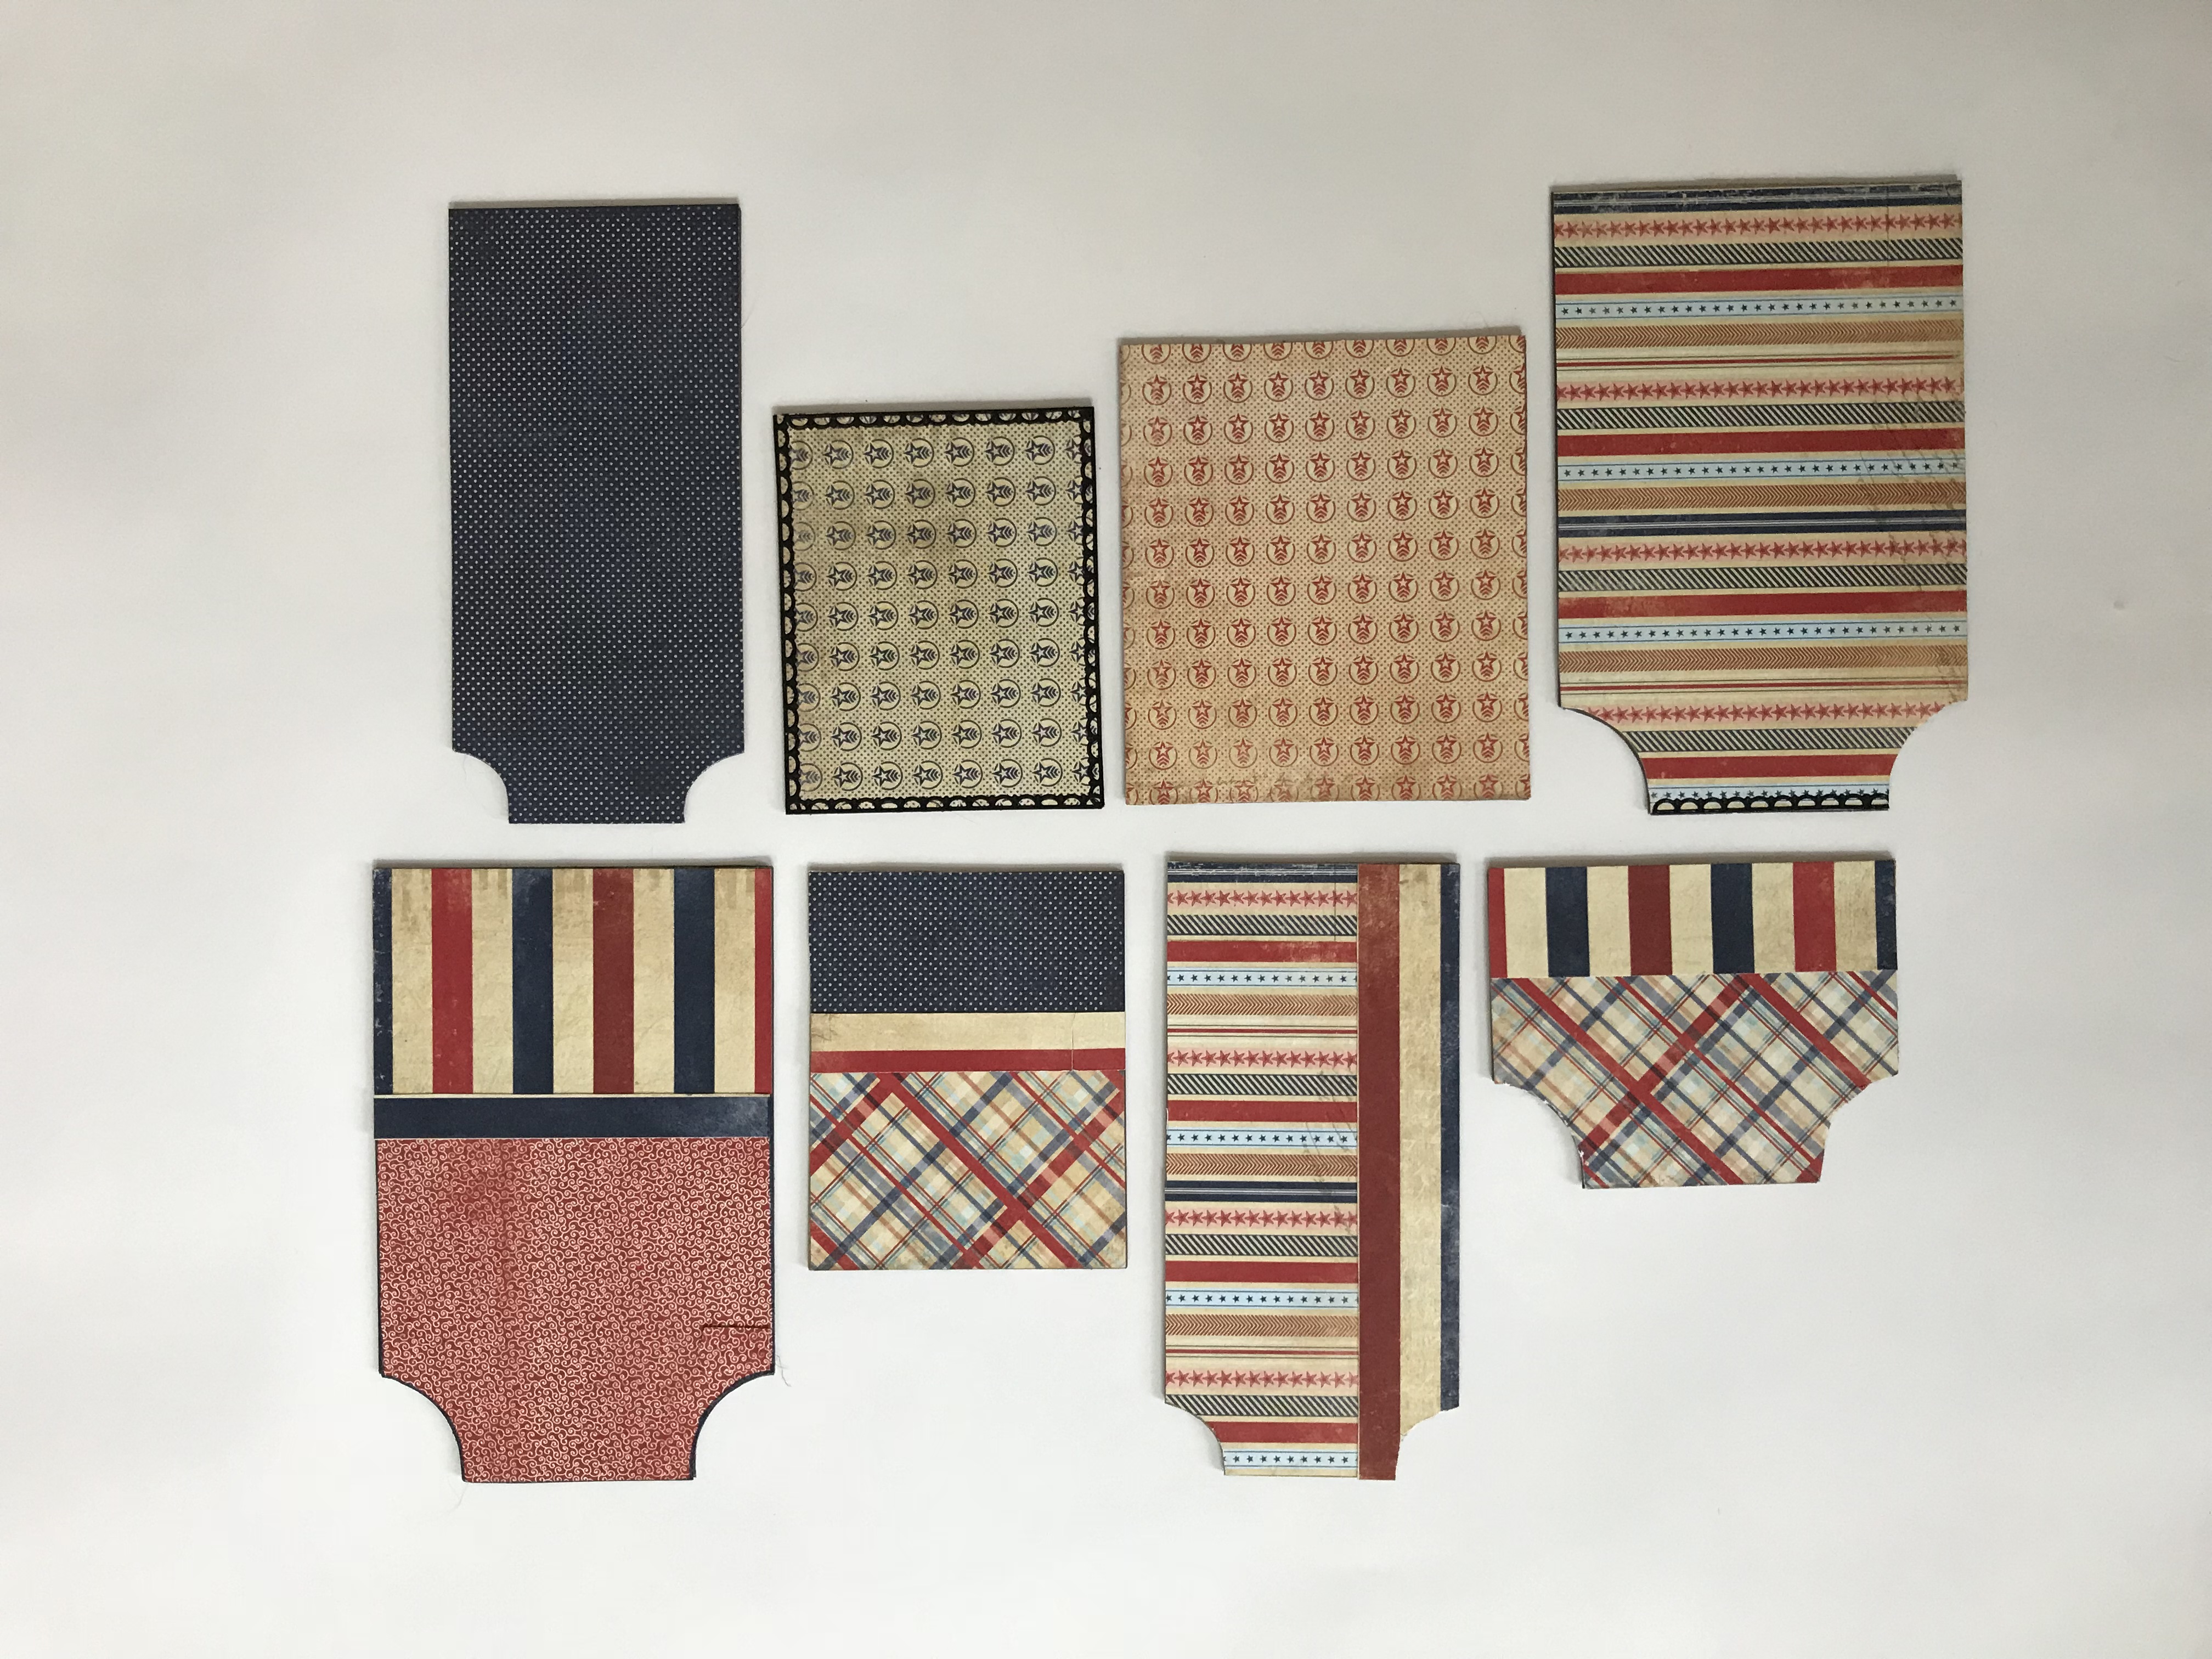
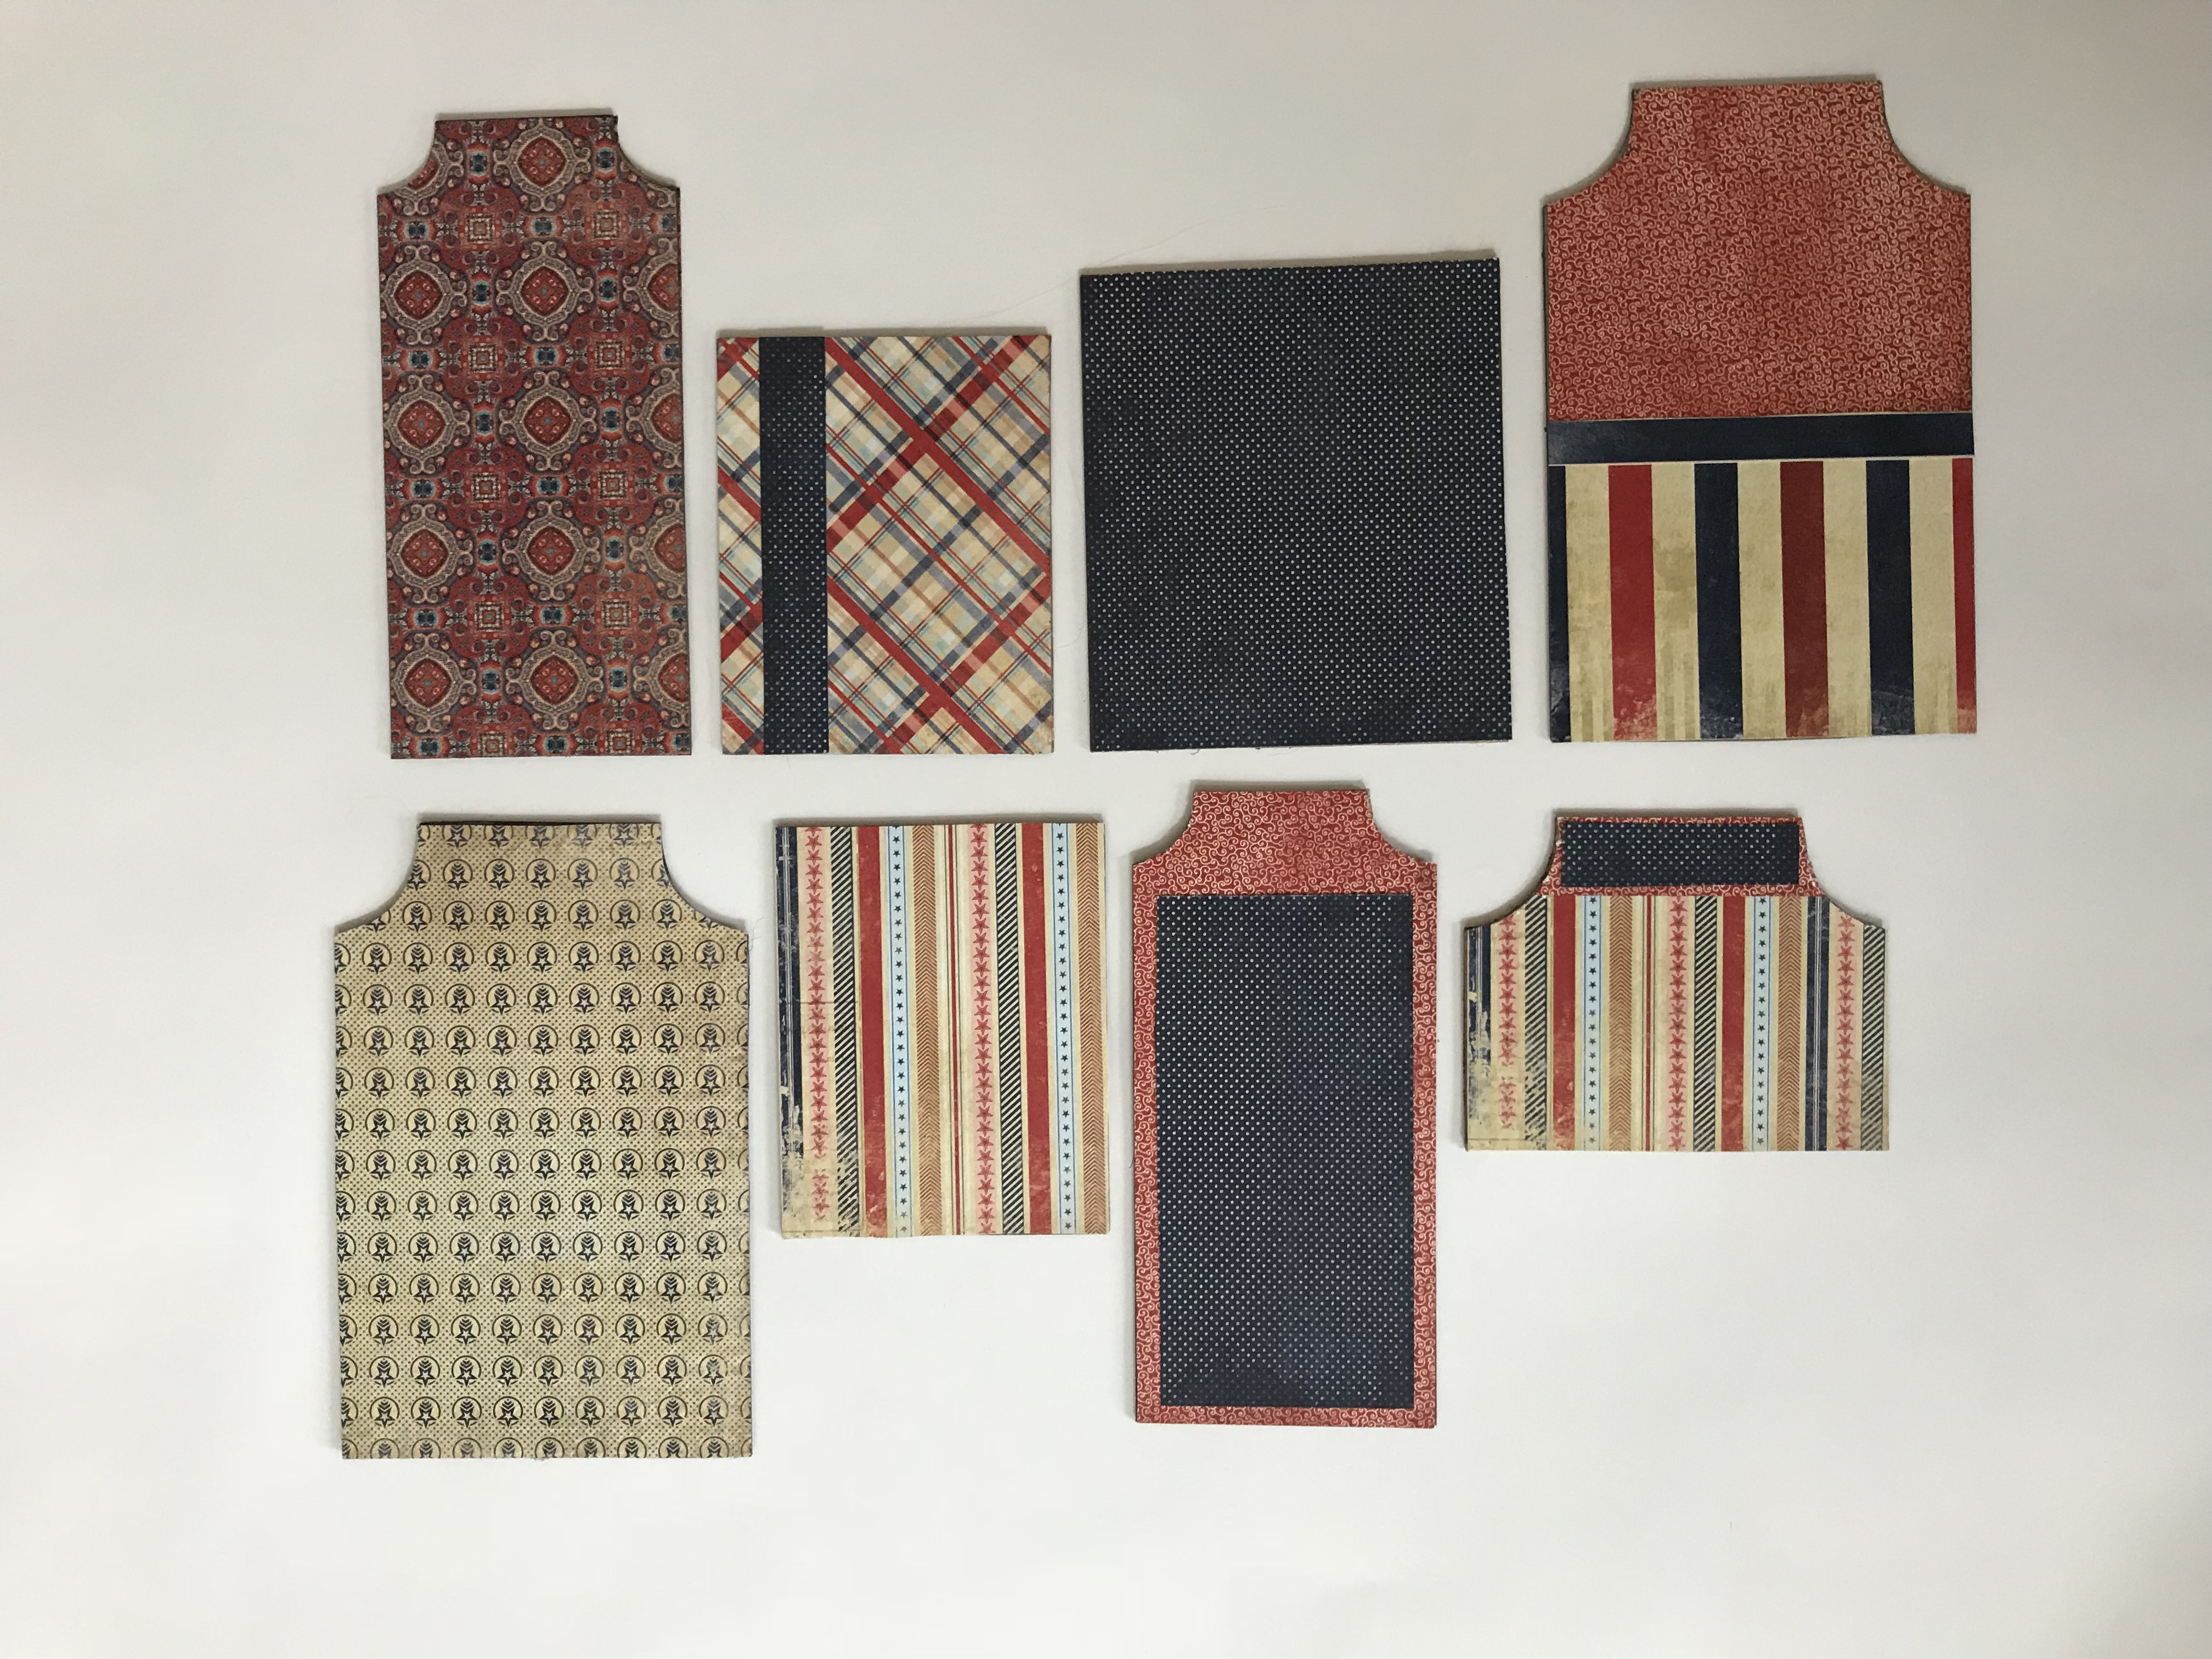
- Cut a 3” rectangle from the end of two of the large tags. This will result in four pieces: (2) 3 x 3 ¾” and (2) 5 ¾ x 3 ¾”.
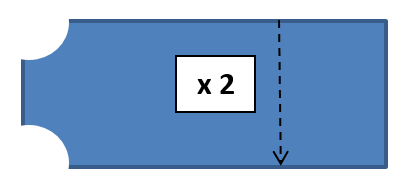
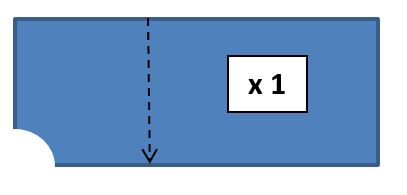
- Cut a 4 ¾” rectangle from the third large tag. This will result in (1) 4 ¾ x (1) 3 ¾” pieces.
- (2) 3 x 3 ¾” and (2) 5 ¾ x 3 ¾”.
- Add in the small chipboard tags. Use a 1/8” hole punch to punch three holes on the end of each of your 8 pieces
- Now decorate it! I used the Authentique Honor 6 x 6 pad. However, you can use any theme you prefer for a similar album—it does not have to be military. The sky is the limit, and each of Authentique’s 6x6 bundles offers coordinated papers that make it simple to create a mini-album with minimal fuss in matching colors, etc.
A few tips:
- I covered the entire surface of both sides of each chipboard piece. You could create a different effect by letting the brown chipboard serve as a backdrop, instead. Or you could color it with spray dye or inking.
- I varied where I placed the holes so that some of the smaller pieces lined up closer to the top, some in the middle and some at the bottom of the scrapbook. Feel free to adjust these to your preference. I also varied the direction (vertical or horizontal) of the smaller pieces.
- Be sure to use a generous amount of adhesive to paper that you are adhering to the chipboard. I ran my paper through the Xyron machine once it was cut to size.
- Below are some pictures of how I decorated the front and back of each of my “pages.” I provide these for inspiration, but, again, the options are endless.
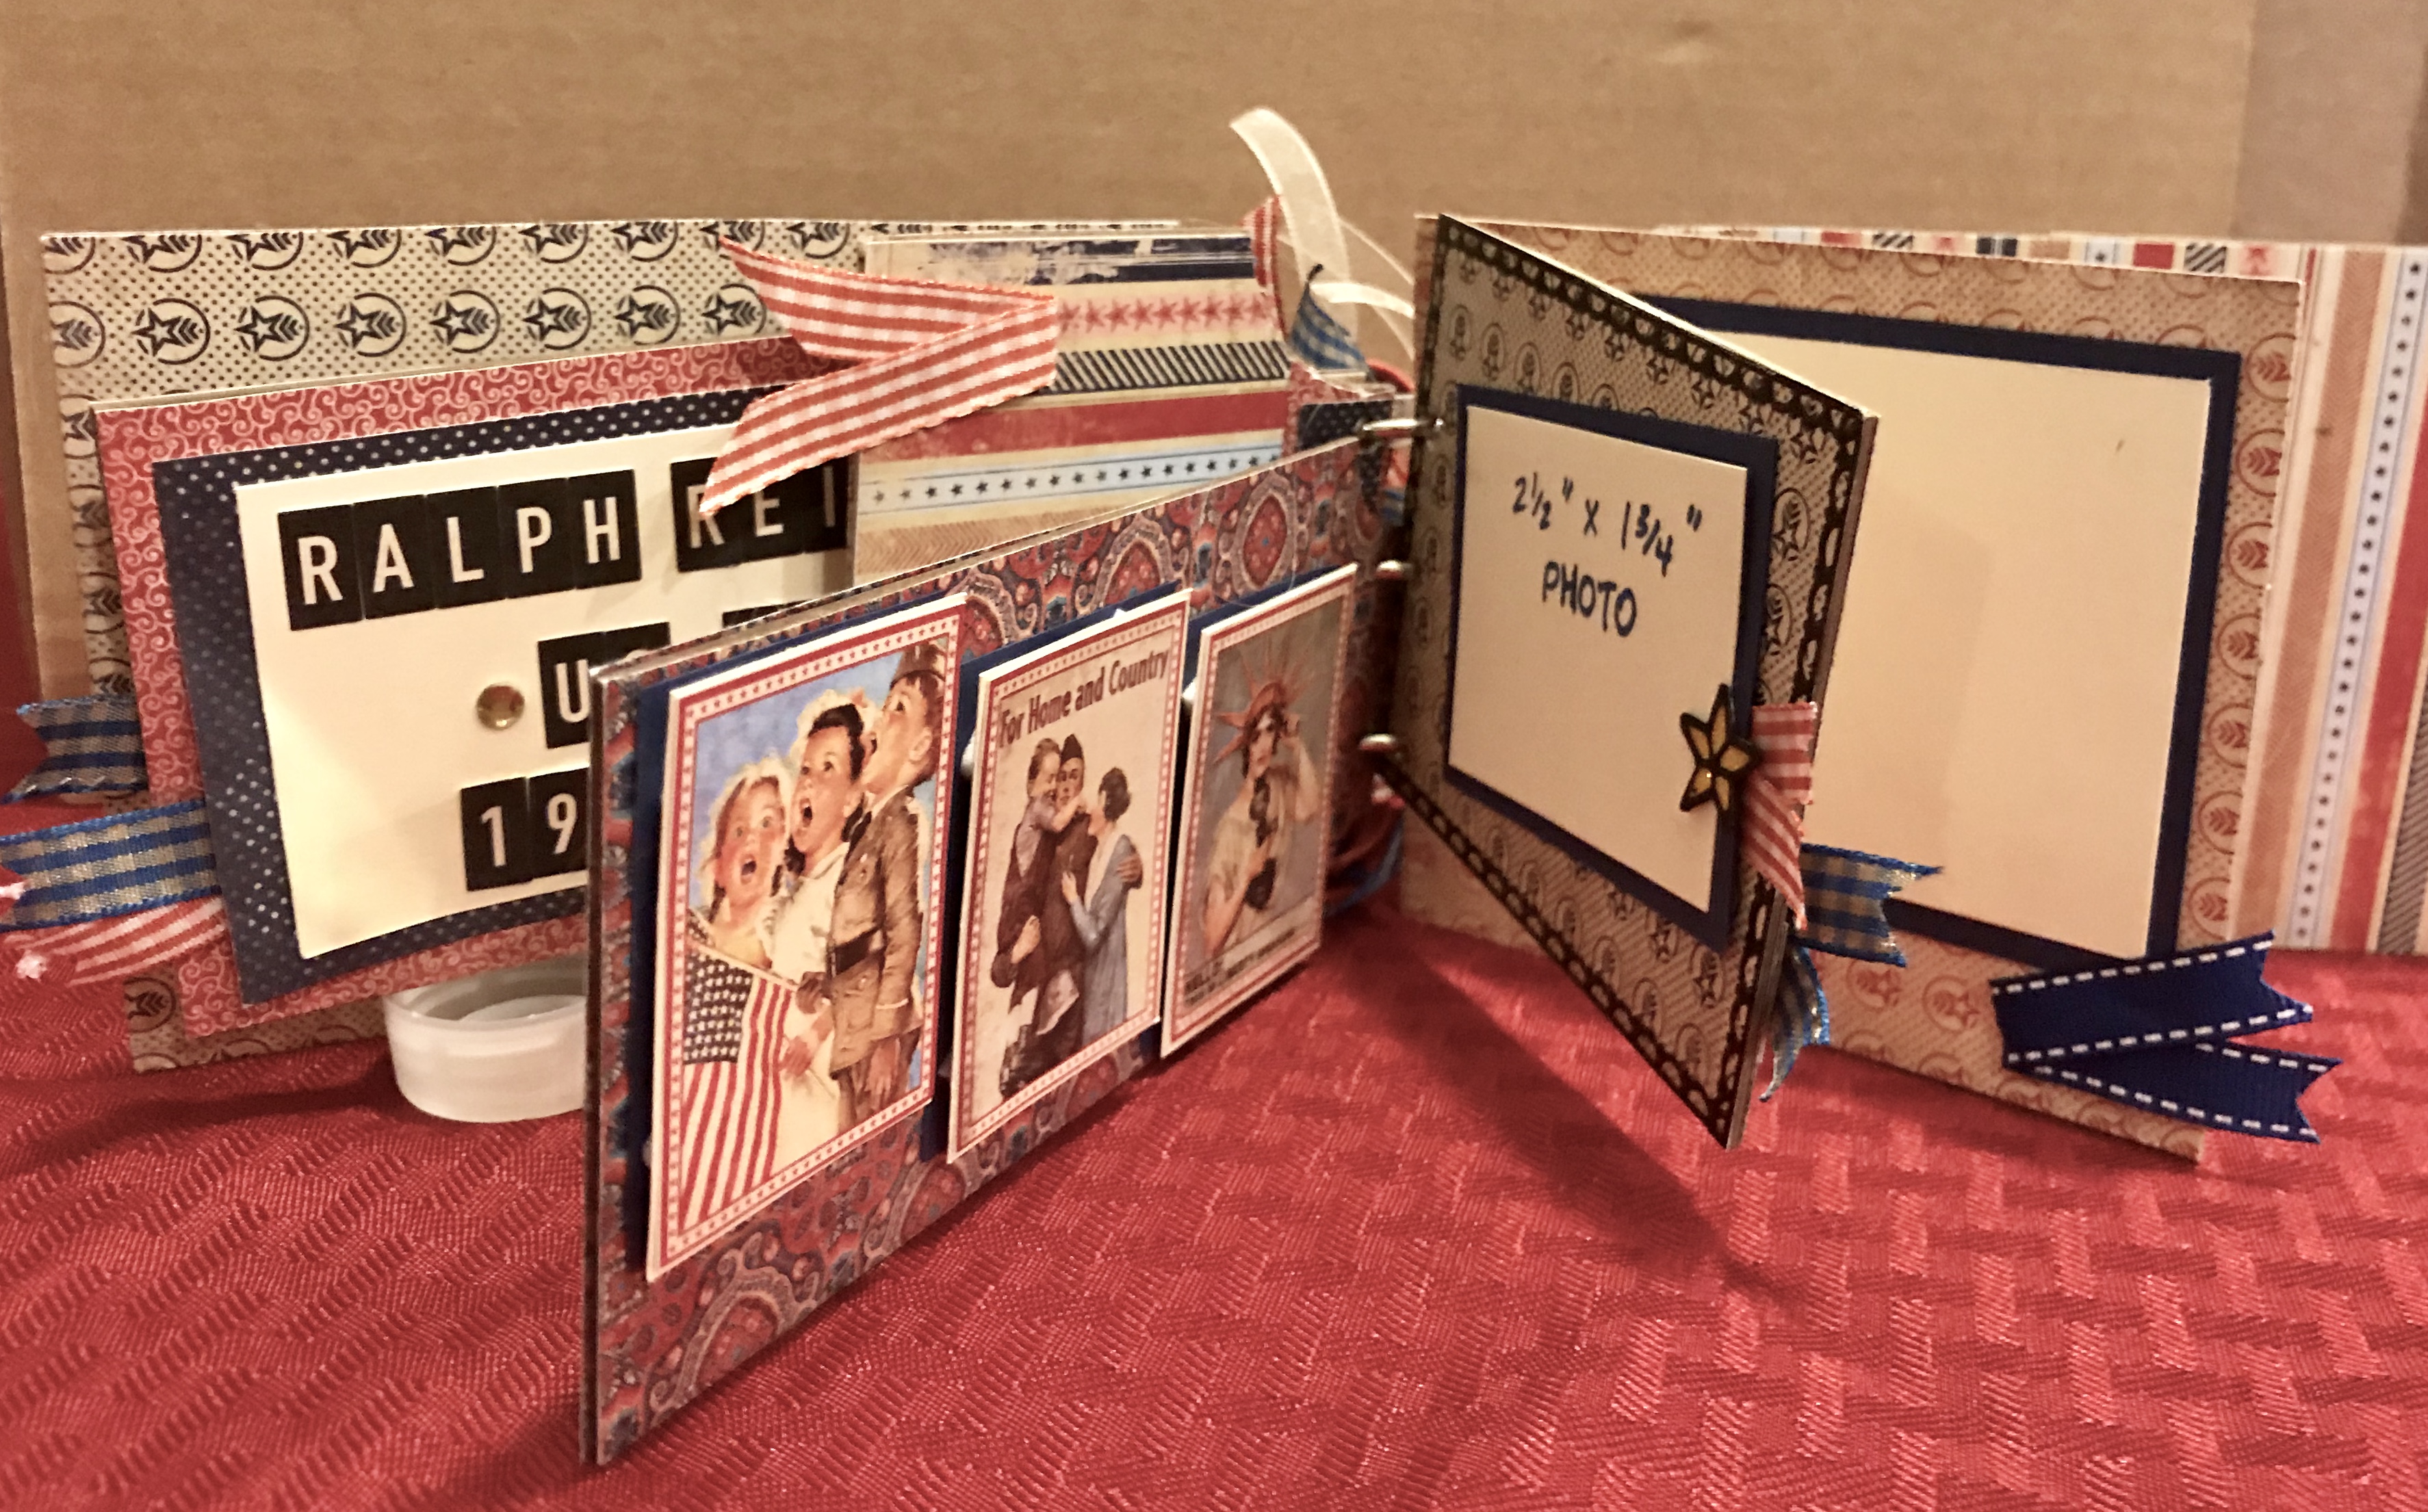
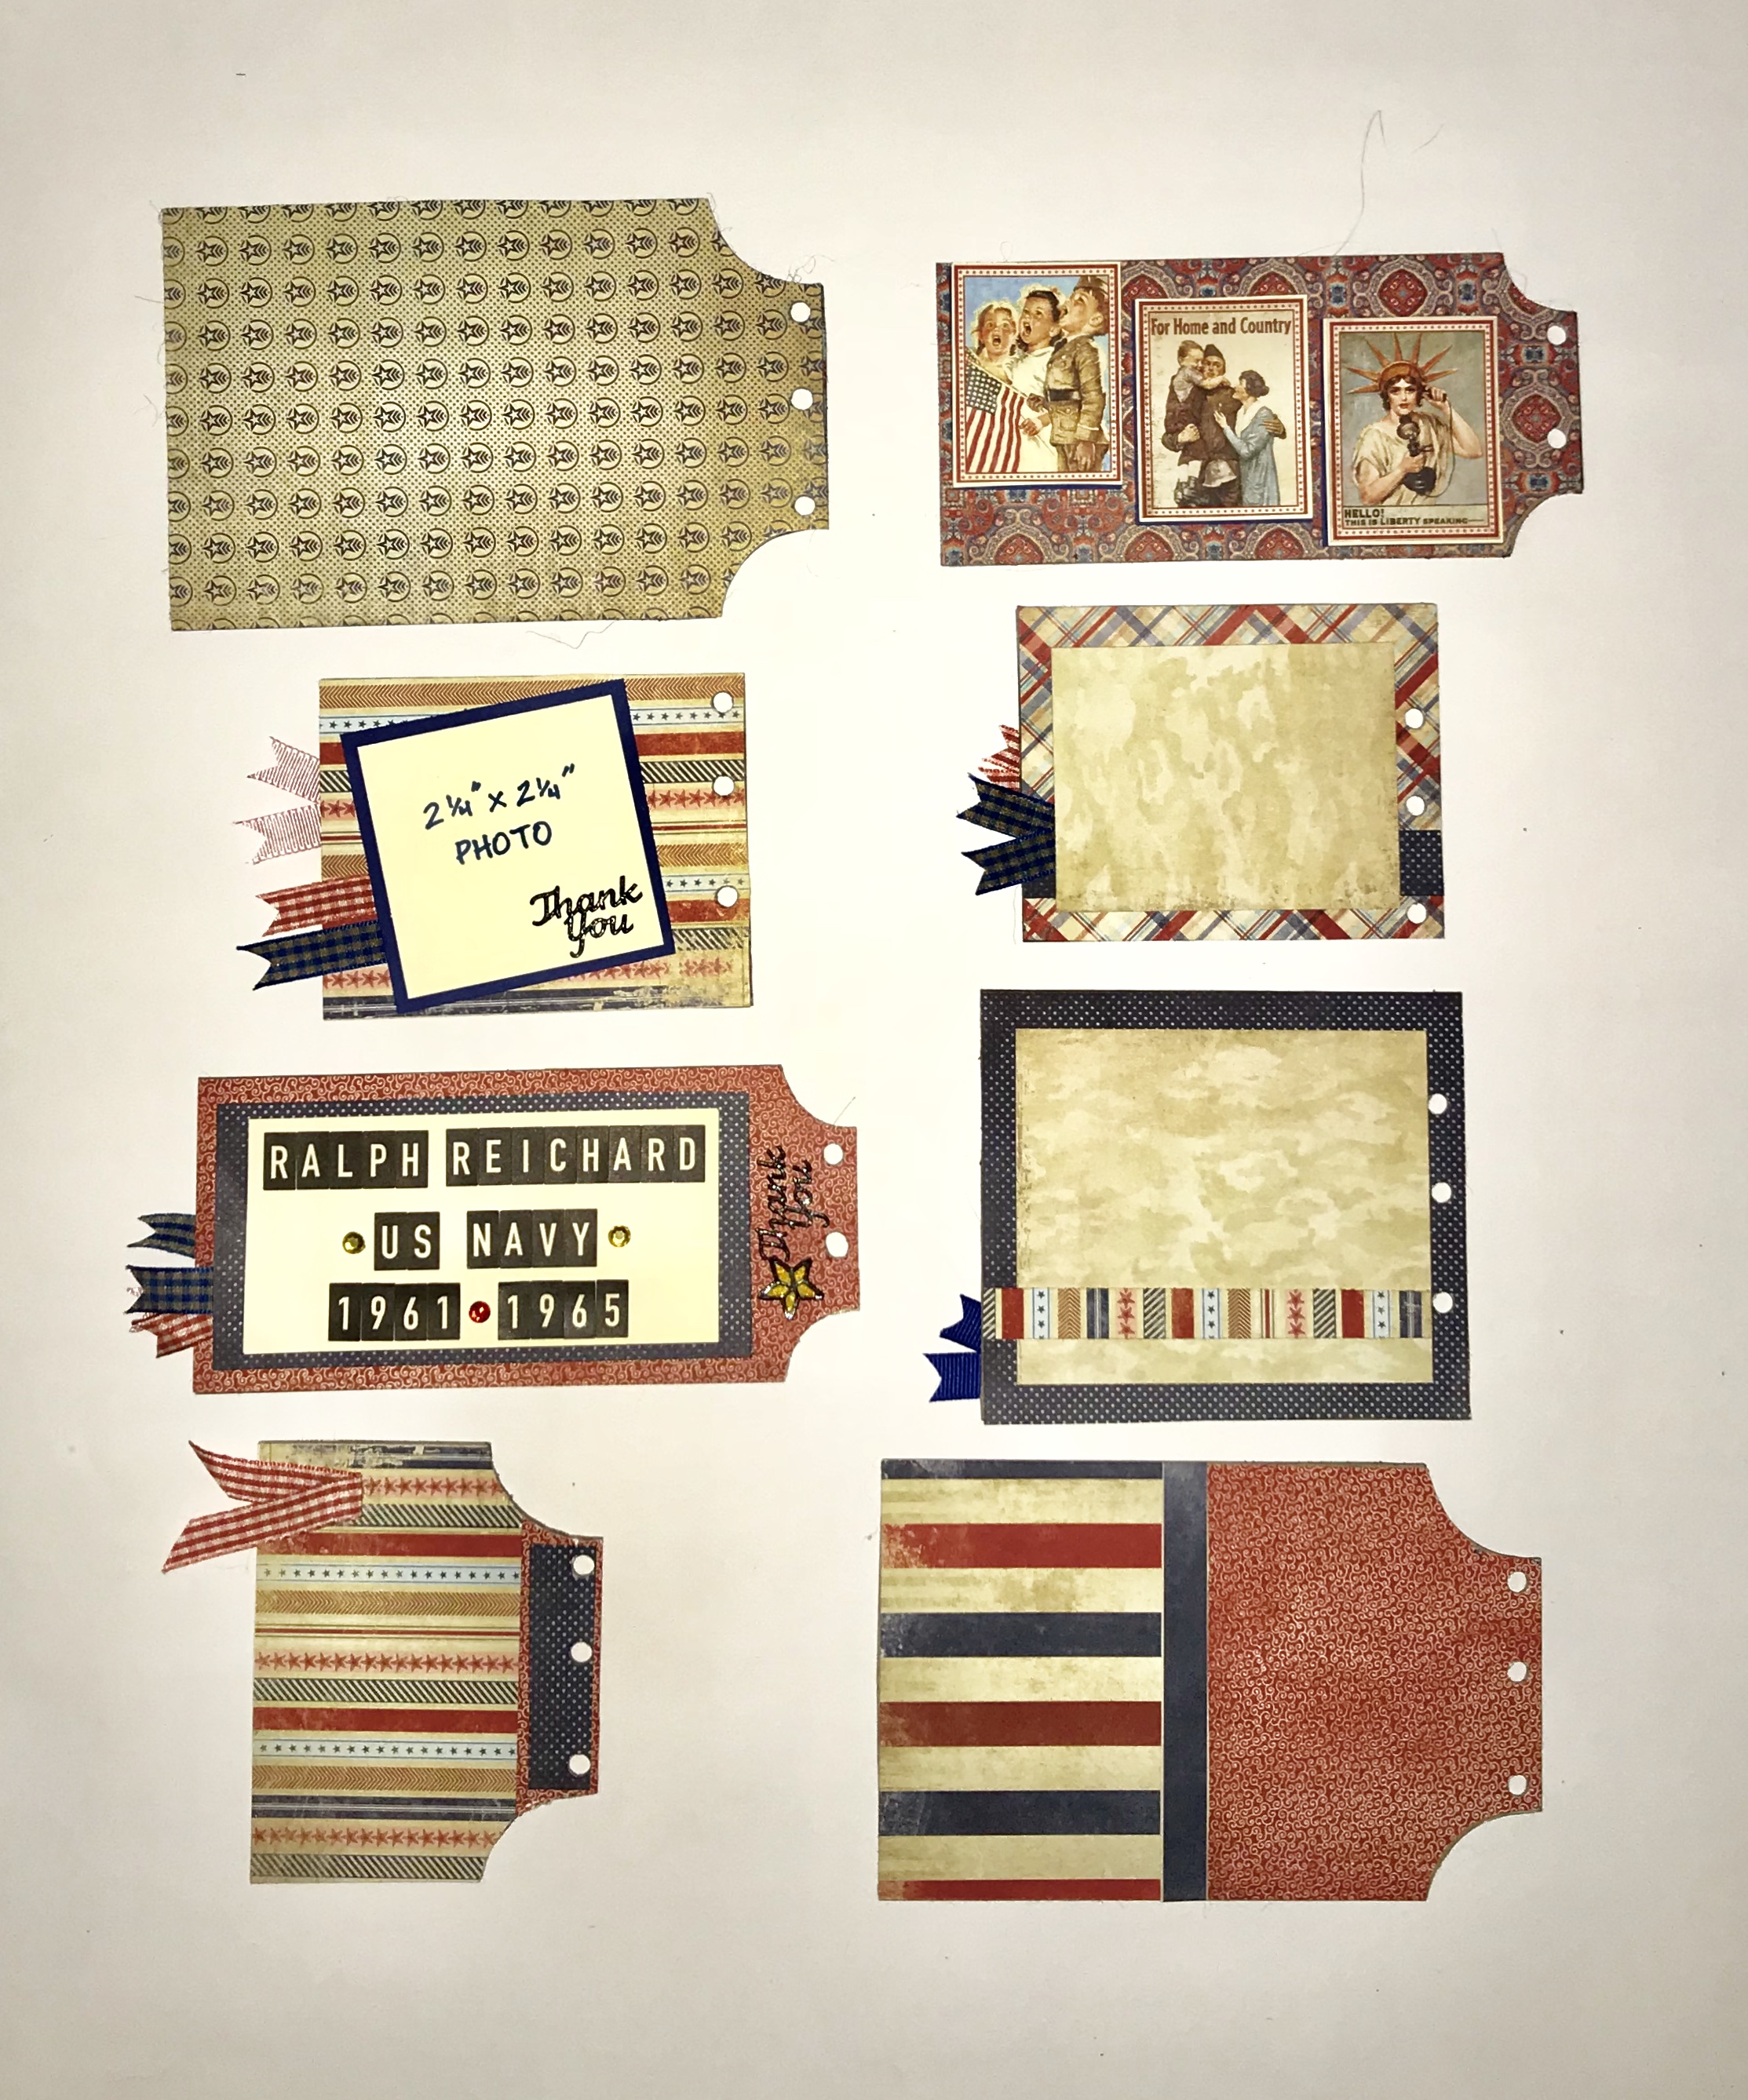
- Add your photos.
- Once you have completed decorating it, use binder rings to hold all of the chipboard pages together. Tie ribbons and strings to the rings to add texture and interest.
- Enjoy your new scrapbook!
I hope that this project has inspired you to make a mini photo album (perhaps as a break from the chaos of the holidays). This fun and inexpensive project makes an excellent gift that is sure to make you and the recipient smile.
Best wishes until next time,
Amanda
Krazy Kreations Products Used
Chipboard Tag Set 1, Natural, 5pc
Ornaments (2) Outline Stickers